
Practical guide
Mini or One: selecting a front-of-house return point
Compare compact and standard RECYNEX configurations around the actual visitor and service flow.
Reviewed Read moreCompare RVMs using your container stream, floor space, collection routine, software needs and supplier scope—not a single headline capacity claim.
Choosing a reverse vending machine (RVM) starts with the containers, the site and the people who will run it. A footprint or throughput figure without its configuration and test conditions cannot settle the buying decision.
Start with a list of containers people will actually bring. Ask for representative samples, including damaged labels, closures and residual contents. Record exclusions as carefully as acceptances. A beverage bottle, a household-product bottle and a reusable container can require different paths.
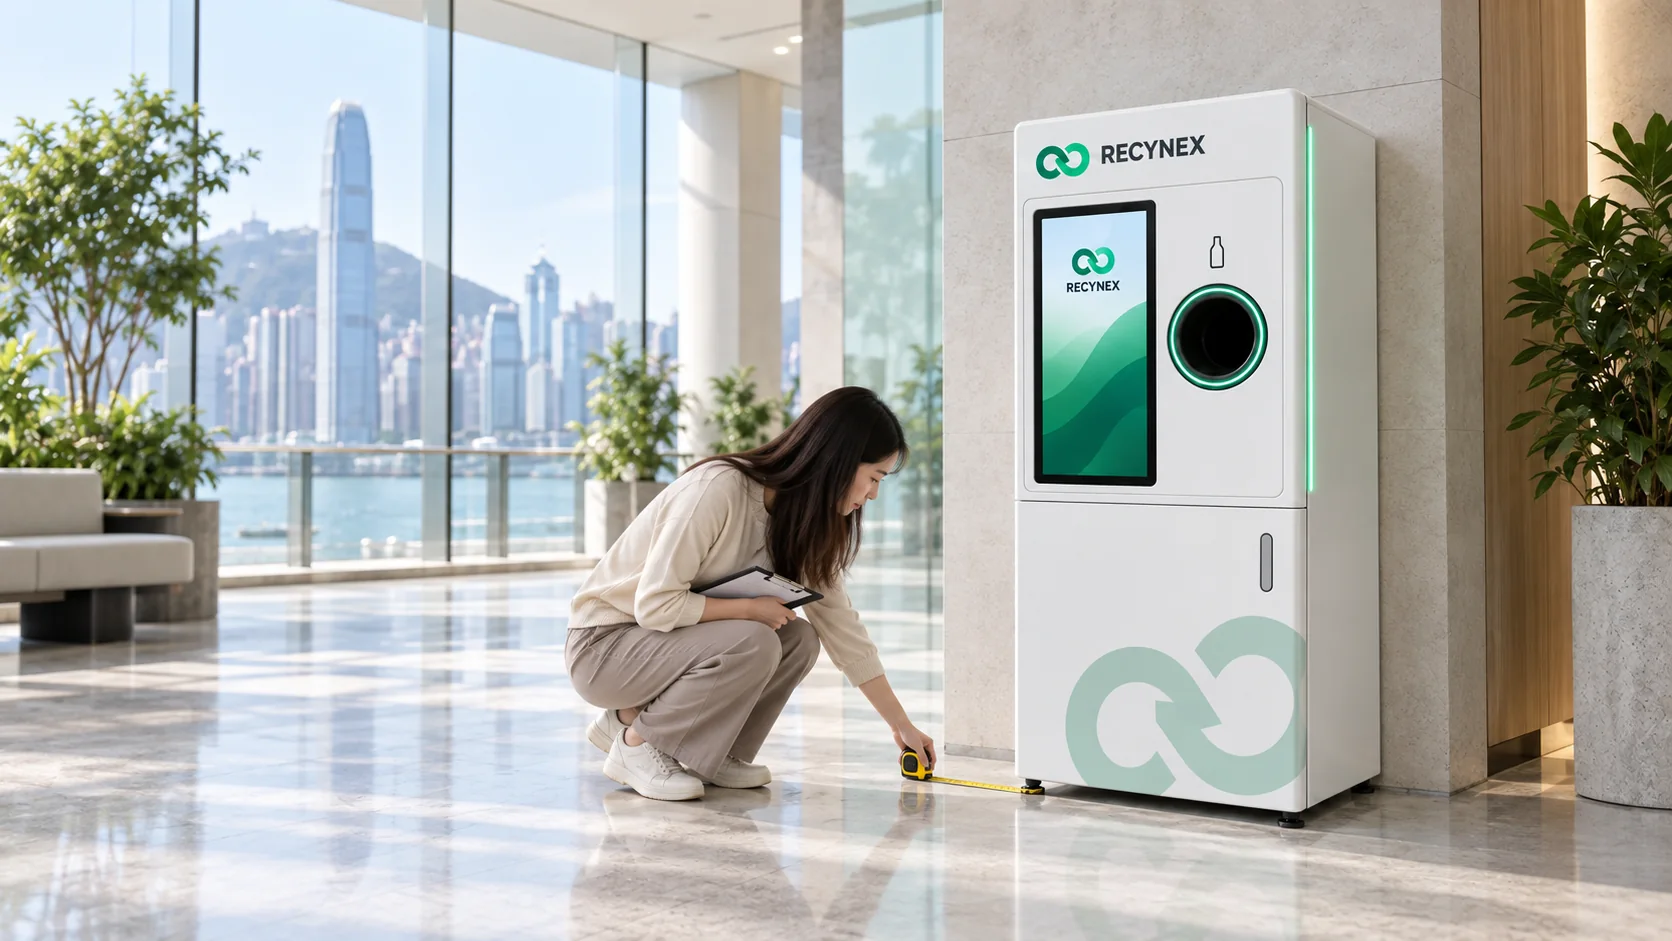
Mark the user approach, likely queue, electrical point, service door swing and route for removing collected material. Review lighting and exposure if the unit sits near an entrance. A narrow cabinet is useful only when the surrounding workflow still fits.
Name the people who will check the point, respond to an exception and reconcile collection. Decide whether the site needs simple records, multi-site software or an interface with an existing platform. Request a quotation that shows equipment, options and service separately.
Ask every supplier to state the exact configuration, tested packaging list, storage arrangement, site preparation, software access, collection method and support scope. Put exclusions beside inclusions. If one proposal bundles a subscription and another leaves it out, compare the operating tasks each actually covers rather than only the initial equipment line.
Buying teams often see a smooth demonstration with a clean bottle. Ask for the same journey with a damaged label, a full collection container and a temporary network failure. Who helps the visitor, which task reaches the operator and what record remains afterward? These answers reveal more about site fit than a polished screen sequence. They also help identify whether the proposed software and service are necessary for the intended operating model.
The physical return point is only one part of the chain. Check where accepted material goes, how the collector gets access and whether a receiving party confirms handover. If the project includes a reward, identify the system that authorises it and the event that proves a container was physically accepted. A machine that recognises a package has not necessarily completed the return.
A small staffed store and an unattended public venue can share packaging rules while needing different storage, monitoring and response. Avoid forcing one model across all locations before measuring their constraints. Group sites by stream, available space, access hours and collection route, then ask where a common configuration works and where it does not. The multi-site rollout guide offers a way to keep the common rules without hiding local differences.
Use the site survey and packaging qualification table to prepare a common brief. Then request equipment advice with the location, sample formats and collection owner.
If this is your first RVM project, start with the basics. For a model-level comparison, review the six RECYNEX equipment directions.
Compare compact and standard RECYNEX configurations around the actual visitor and service flow.
Reviewed Read moreA compact-store buying guide to container eligibility, queue space, staff tasks and collection access before choosing a reverse vending machine.
Read moreA buyer's method for separating PET, cans, glass and exceptions before selecting intake equipment.
Reviewed Read moreShare the location, container stream, operating team and systems already in place.